


The fan oven wouldn’t warm up but the fan was still turning -
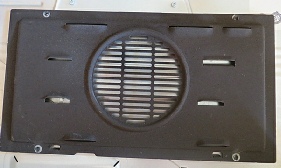
The rear of the oven has a cover, released by 4 screws, which when removed reveals the fan and the near semi-
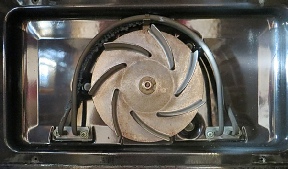
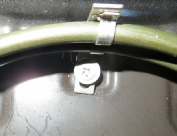
The ends of the element are attached by 4 screws, two each end. But the element is also secured in the middle and the screw is behind the fan, would you believe!

THE FAN -
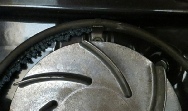
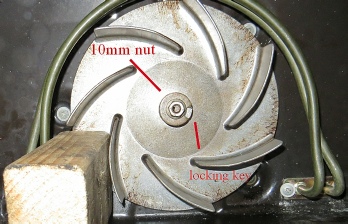
Quite easy as long as you remember that the 10mm nut is left hand threaded! So you unscrew it by turning it clockwise.
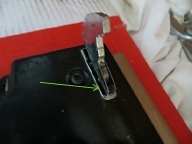
Also, it’s not held on a tapered shaft so it should release easily. (It’s keyed to the shaft by a slotted washer and the washer is held to the shaft by the serrated nut face -

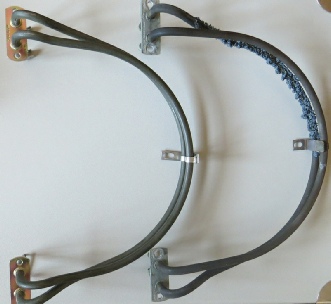
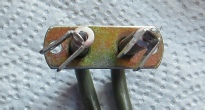
There are many sources of replacement element and, as always, ebay sells lots. I bought a reasonably cheap version for about £8 (2014). The new and the old, clearly burnt out, are shown on the right.
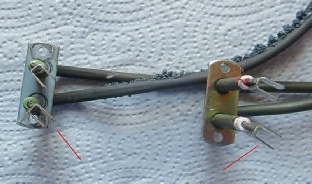
While the replacement was a good match, the spade terminals were angled wrongly and needed to be bent gently with pliers so that they would go back through the hole in the rear of the oven.
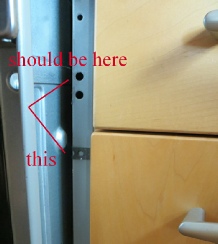
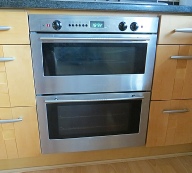
In fact this misalignment, and the need to wiggle the ends of the element back through the mounting holes, meant that it was easier in the end to remove the back of the oven to access the connecting wires from the rear. Removing the oven from the kitchen unit was easy -
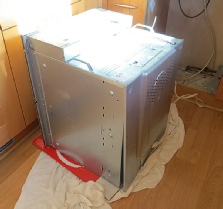
The centre attachment screw bracket was also slightly misaligned and had to be eased gently to get the screw in the hole. Having fastened the element to the back of the oven, it was then time to replace the fan. It was easier to tighten the fan nut (anticlockwise don’t forget) if a block of wood was used to stop the fan rotating -
It was then easy to screw back the fan cover, attach the two wires to the element at the back of the oven, screw the back on and re-